ReactJS Environment Setup
How to Set Up Your ReactJS Environment with Create React App and Vite
Prerequisite for setting up ReactJS
Terminal
You can use any terminal or command prompt of your choice to create a React app like the Windows Command Prompt, Git Bash or Hyper.
Install and set up Node.js and NPM
Node.js is a JavaScript runtime environment that runs JavaScript code outside of the browser. Node.js is used with ReactJS to run the React development server.
When Node is installed the npm (node-package-manager) command-line tool is downloaded as well. This command-line tool is important as it enables us to install the JavaScript packages required for our project.
Navigate to the main page of Node website and click on DOWNLOADS or click here https://nodejs.org/en/download/ . Make sure to download the version of Node labelled “LTS” because this version is more stable than the current version.

Once you are done with the installation, open up the terminal and type the below command to check the node version.
node -v
Install Visual Studio Code
Visual Studio Code (VS Code) is an open-source code editor developed by Microsoft and operating on Windows, Linux and Mac OS.
VSCode is written in TypeScript, JavaScript and CSS, so it offers deep built-in support for Node.js and also supports many languages like C++, Java, TypeScript, JavaScript, JSON and more.

You can download VS code for free here: https://code.visualstudio.com. By using extensions and mastering commonly used keyboard shortcuts in VSCode, developers can significantly improve their productivity and save time.
Setting Up React Environment
We have the flexibility to set up a React development environment using either Create React App (CRA) or Vite, and each option has its own advantages. Let's have a look:
🔥Using create-react-app
The create-react-app wraps all of the dependencies like Webpack and Babel required for React project.
- The first step is to create a new React app using the
create-react-appcommand-line tool. Open your terminal or the VS-Code integrated Terminal and run the following command:
npx create-react-app react-demo
This will create a new React app in a directory called "react-demo". The create-react-app will set up everything you need to run a React application. You can use any name in place of “react-demo”. It denotes the name of the application.
NOTE: Due to npm naming restrictions, names can no longer contain capital letters, thus type your app’s name in lowercase.
By default, create-react-app uses the latest version of React.
To learn more about the latest features and updates included in React 18, do checkout this blog.
Next, run the React Application:
- Go to the "react-demo" folder directory, by typing the following command:
cd react-demo
- Start or run the application by using the following command:
npm start
- Or if you are using yarn,
yarn start
It should open a new browser automatically, or you can manually open it by typing localhost:3000 in the address bar.

🔥Using Vite
Vite focuses on speed and performance by improving the development experience for modern web projects.
Personally, I have a strong preference for Vite and enjoy using it.
We will create a new React project using the Vite tool from the command line. We will be using the yarn package manager to install and run the scripts.
- Before you start using Yarn, you'll first need to install it on your system. In your terminal, run the command:
npm install --global yarn
- After installing Yarn, run the following command in your terminal to scaffold a new Vite project:
yarn create vite react-demo
- Vite will prompt you to select a framework:

- After selecting the React framework, Vite will then prompt you to choose the language variant type.
Use your arrow keys to select JavaScript:

After setting up the framework, Vite will then instruct you to install dependencies using Yarn.
- Navigate to your project folder as directed:
cd react-demo
- Then, use the
yarncommand to install the dependencies of the project:
yarn
When finished, the dependency installation will return an output :
Output
success Saved lockfile.
✨  Done in 31.82s.
You have now set up a new React project using Vite and installed the packages required by React and Vite.
- Lets Start the Development Server
yarn run dev
It should open a new browser automatically, or we can manually open it by typing localhost:5173 in the address bar.

Folder Structure Explanation

While there are some minor differences, the folder structure between npm and yarn is largely similar and follows the same conventions.
package.json : This file contains info about the dependencies and scripts required for the project.
src : This folder contains the source code. It contains App.css, App.js, index.css, index.js etc.
node_modules : This folder contains all the installed dependencies.
public : This folder contains asset files for your app.
gitignore : This file contains ignored files and folders for GitHub push and pull.
README.md : This includes the React topics and their documentation.
yarn.lock : This lists the versions of dependencies that are used at the time of the installation process using Yarn.
Lets's Modify the React Application
Inside the src folder there is a file called App.js.
App.js is the main component of a React application and is responsible for rendering the UI of the application.
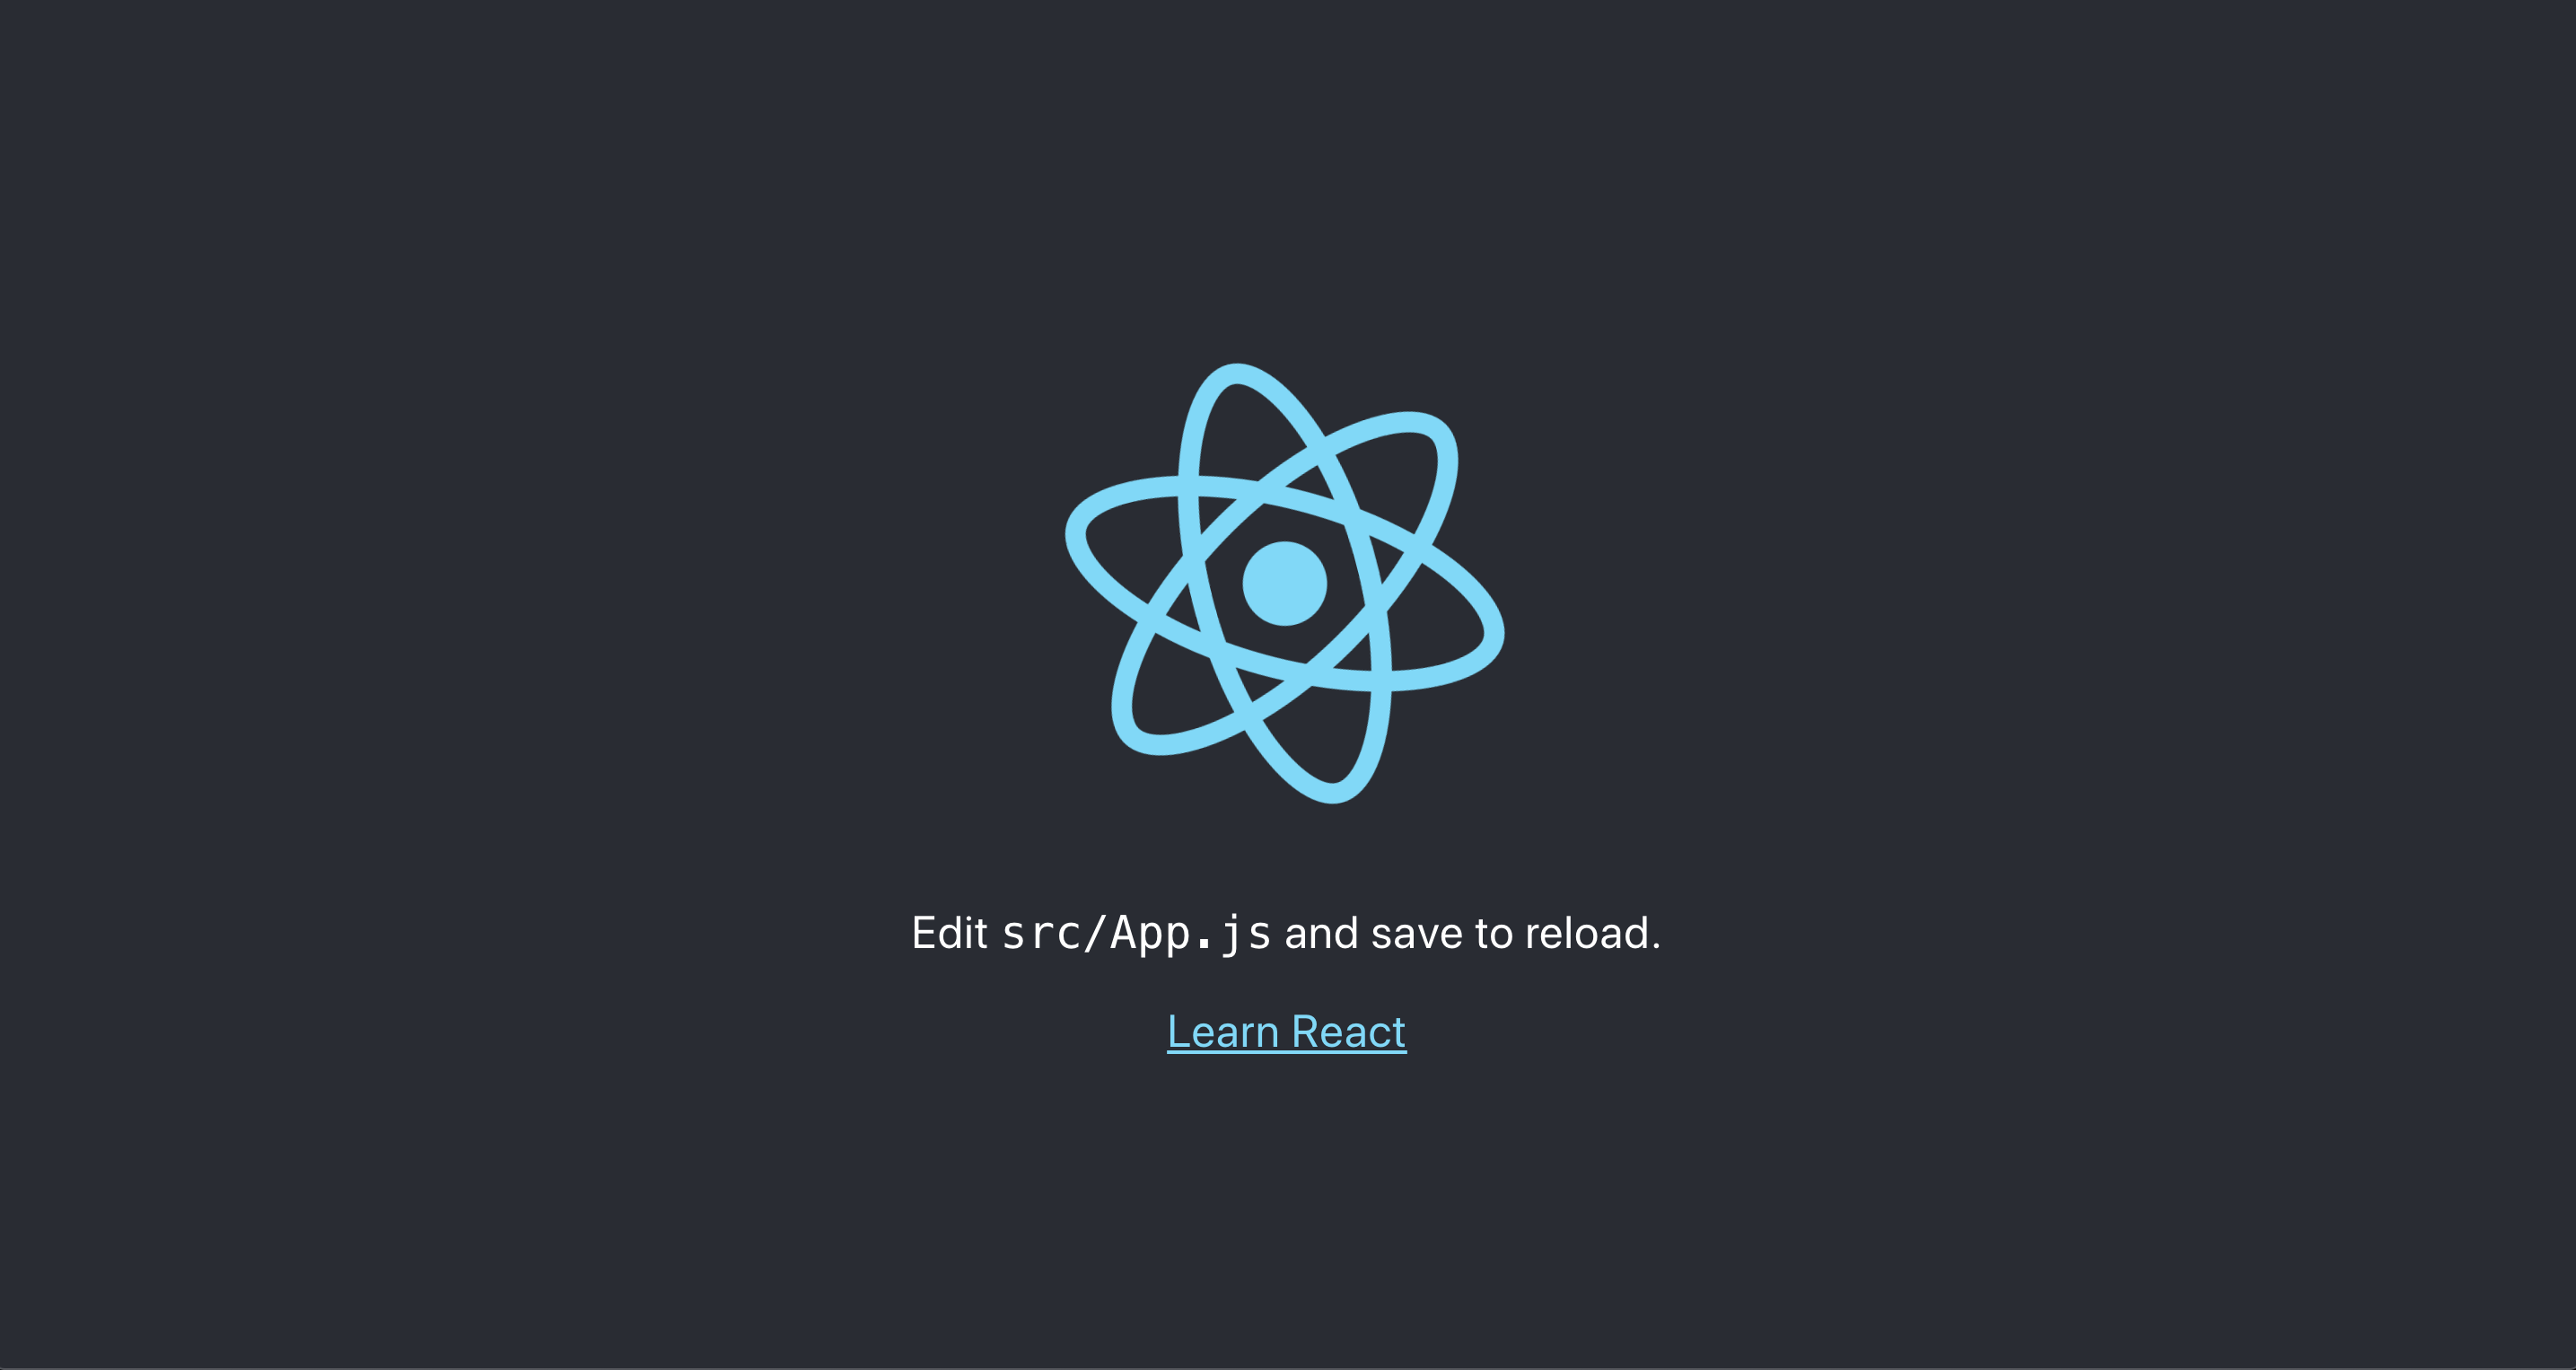
Open it and it will look like this:
App.js
import logo from './logo.svg';
import './App.css';

function App() {
  return (
    <div className="App">
      <header className="App-header">
        <img src={logo} className="App-logo" alt="logo" />
        <p>
          Edit <code>src/App.js</code> and save to reload.
        </p>
        <a
          className="App-link"
          href="https://reactjs.org"
          target="_blank"
          rel="noopener noreferrer"
        >
          Learn React
        </a>
      </header>
    </div>
  );
}

export default App;
Replace all the content inside the <div className="App"> with a <h1> element that contains the words 'Hello World..!!'.
App.js
function App() {
  return (
    <div className="App">
      <h1>Hello World..!!</h1>
    </div>
  );
}

export default App;
Notice that the changes are visible immediately after you save the file, you do not have to reload the browser!
Once the browser is opened, you should see the following output:-

And there you have it. Your first React application is up and running..!!

In Summary
In this blog post, we have discussed setting up a development environment for React using both create-react-app and Vite. While CRA provides an easy and straightforward setup process with various built-in configurations, Vite offers a more lightweight and faster development experience.
You can establish a robust React development environment that will help you create high-quality, high-performance web applications.
In the future, I will be writing a blog that examines the differences between using Create React App and Vite for web development.
References
Thank you for taking the time to read this blog. I hope you found it informative and enjoyable! Stay tuned for future articles and be sure to follow along.
In the next article of this series, we shall take a look at JSX.
Catch you guys on the next one. Cheers .. ✌️

